In this guide, I will be explaining the various baseline resource mechanics of SC6 and some basic values that are important to know about them. Please note this is not all there is to the mechanics, but in terms of most relevant information, this is what you need to know.

Health
The Health Bar in SC6 is a total of 240 points of damage. The small line near the end of the bar is on the 30% health mark. This is important because after this point, the colour of your HP will change to indicate you are below the 30% threshold – this is referred to as being in Guts.
When in Guts, you deal more damage and you take less damage from smaller pokes, this is to help prevent someone from just spamming a poke low to kill you while also giving you a bit of a comeback factor. Note that the damage taken and received scales the less Health you have. Some quick pokes deal upwards of 7 less damage, it may not seem like a lot, but it certainly adds up.
Some moves that restore HP will flash the character a light Green colour. This will be noted in the movelist description.
Guard Gauge
Guard Gauge starts at 0% and goes up to 99% before being broken by certain attacks; think of full Guard as 0% and empty Guard as 99%.
Your Guard Gauge has 3 levels to it: Regular, Yellow and Red. These are just to indicate your Guard level to show you how much you have remaining. Regular occurs at -60%, Yellow occurs at +60% and Red occurs at +80%.
When your guard is broken, you are open to a large variety of moves and combos from the opponent depending on what they used to break your Guard. Each move that breaks Guard has some amount of damage scaling associated with it, this means the combo following will deal less damage than it would if it did not follow a Guard Break. In other words, your basic 3B combo will deal less damage if you broke with 3B itself rather than doing it against a standing idle opponent.
Some moves that break the Guard are better than others for this reason. Some moves that restore Guard Gauge will flash the character a light Blue colour. This will be noted in the movelist description.
As a fun fact, did you know that your Guard does not recover when blocking and recovers faster when running forward?


- Regular: less than 60% Guard Gauge.
- Yellow: over 60% Guard Gauge.
- Red: over 80% Guard Gauge.
Perfect Guard
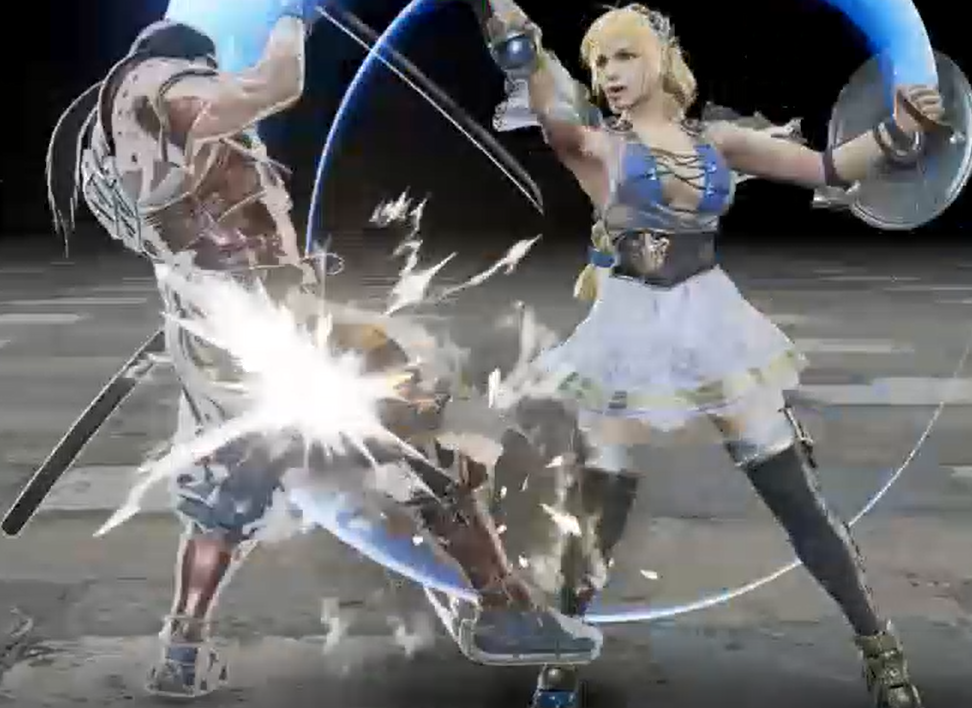
Perfect Guard is a very small and often overlooked mechanic in SC6. It happens when you time your Block just at the moment of impact. There is a visual representation when this happens, a white flash and unique noise happens.
This mechanic is not required to play at higher levels, but it helps to optimize your defense. You could go your entire SC6 career, never use Perfect Guard and not notice the difference. For those who like to optimize their gameplay however, this is a fun way to defend against powerful strings that jail or multi-hit attacks.

Perfect Guard reduces the amount of Guard Damage dealt by an attack by 1% and gives a miniscule amount of meter – not that amazing. What is great is the fact it negates chip damage! Against many Soul Charge strings or multi-hit moves that have Break Attacks in them, I highly recommend you learn to use this mechanic; it is particularly strong against characters with heavy Guard damage or Chip damage strings.
Soul Charge (SC)
Soul Charge (4A+B+K) is essentially an install state or a powered up state for a short period of time, about 10s if we assume no moves are used. It costs 1 bar of meter and gives access to new moves that also cost varying amounts of SC timer.
SC activates on frame 4 and has invulnerability frames during the whole animation even on whiff, which means you cannot whiff punish a SC activation (a cheeky UB attempt is generally too slow because they can just use RI against you).
After the 4 frames of startup, there is a 2 frame delay before a pushback wave comes out, shoving the opponent away. This wave is 0 frames on block, +8 frames on hit and a Break Attack. During the entire duration of SC, the regular round timer does not go down, meaning using SC is a great way to prevent a time out loss and win the round.
On the note of rounds and meter, it is worth knowing that you gain a free bar of meter when you are down 2 rounds to your opponent. So make sure you never go down 2 rounds with 2 bars on deck as you could’ve used SC as a comeback mechanic knowing that even if you lose that round you will be immediately gaining an additional bar.
Some moves that restore Meter will flash the character a light Yellow colour. This will be noted in the movelist description.
- SC Startup: 4 frames. Pushback activates on frame 6.
- SC Frames: 0 on block, +8 on hit.
Guard Impact (GI)
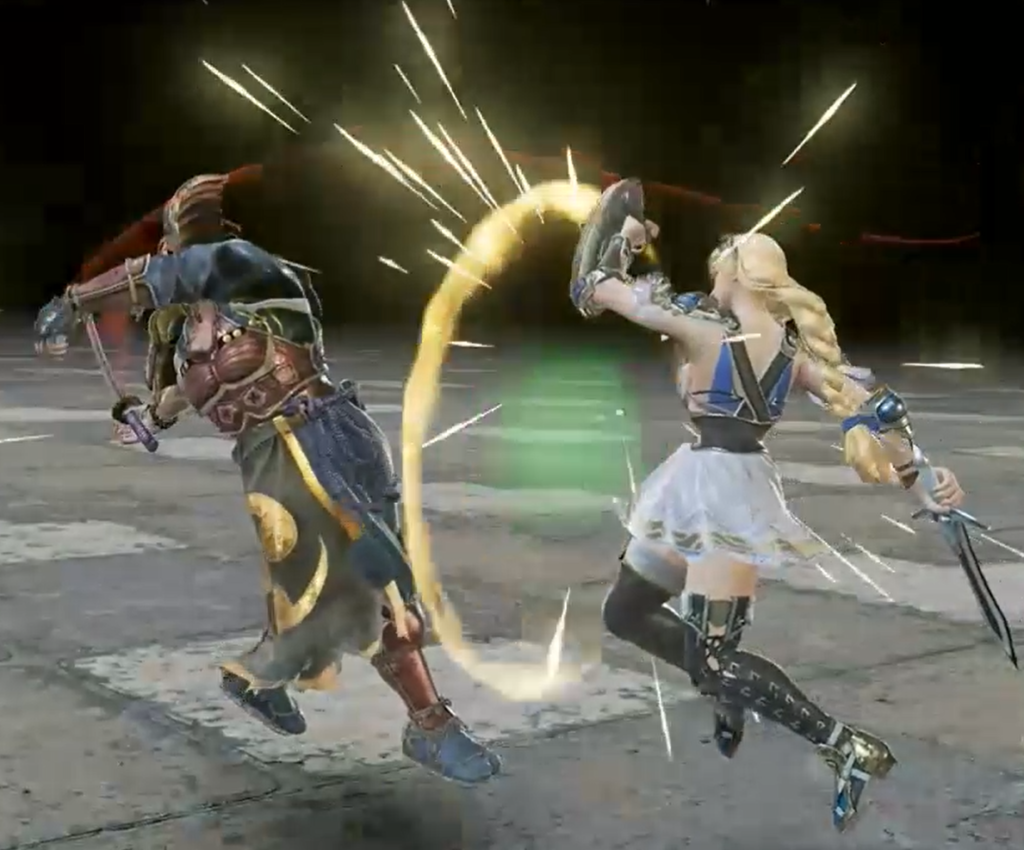
Guard Impacts (6G) are essentially the ‘parries’ in SC6. GI is able to deflect any basic attack, including Throws, that is not an Unblockable (UB) or Break Attack (BA). Note that some moves have UB or BA animations or flashes while not actually being those kinds of moves. It is important to remember the BA or UB property must be at the start of a single move in order for it to be a true BA or UB, sometimes the property or animation will occur after the fact on screen.
GIs will drain 10% Guard Gauge when used, however this is not a requirement which means you can still GI at 99% Guard Gauge and will restore 13% upon successful GI; a net gain of 3%. GIs startup in 2 frames and have an 8 frame window to parry an attack (frame 2-10).
Effectively, this means you can GI if a string has a 2 frame gap in it to try to parry the attack. GIs also interact with moves differently and grant 3 different levels of frame advantage based on what was GIed; these are derived from the 3 different attack types in SC6: Light, Medium and Heavy. This is not the same as Horizontal/Vertical/Kick attacks, but rather each move specifically has a different GI level associated with it.
Once you are parried with a GI, you have the option to GI in response, we call this a Reverse Impact (re-GI). This has the same properties as regular GI, but has many more advantages. A re-GI costs 0% Guard, but also restores 0%. It also has a much longer GI window at 2-22 frames!
- Lvl. 1 is 8 frames of advantage (+8).
- Lvl. 2 is 16 frames of advantage (+16).
- Lvl. 3 is 28 frames of advantage (+28).
- GI: 2-10 frames. Costs 10% Guard, restores 13%.
- re-GI: 2-22 frames. Costs 0% Guard, restores 0%.
Resist Impact (RI)
Resist Impacts (6B+G) are very similar to Guard Impacts, but with small important differences. Resist Impacts cover all types of moves including UB and BA moves.
RI costs 50% of 1 bar of meter to use outside of Soul Charge.If already in the SC state it costs very little, the equivalent of about 1 second of SC time. Due to the meter cost, RI does not take any Guard Gauge to use, but still restores 13% on a successful impact. It is a great option to restore your Guard Gauge on a very telegraphed string even at the expense of your meter. The stats and frame windows are the same as a regular GI.
A strong application of RI outside of using it against BAs is using it to call out an enemy SC attempt to get free counter-pressure against a SCed opponent.
Reversal Edge (RE)
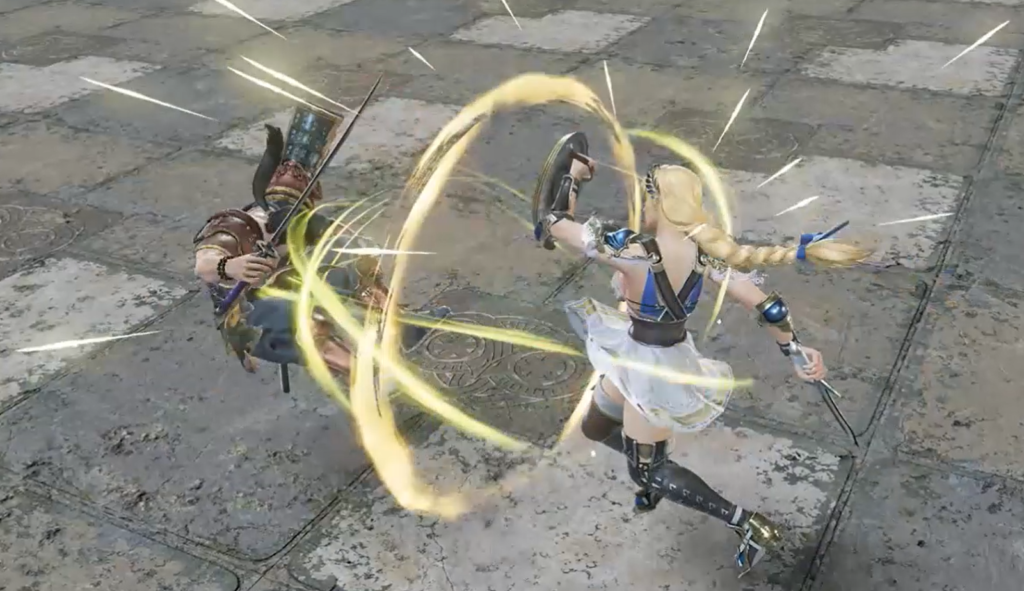
Reversal Edge (B+G) is a very unique mechanic which offers different strengths to players of all skill levels. RE is essentially an extended parry window that reflects the same moves as a GI, costs more Guard to activate, but grants a ton of meter if the parry is successful.
RE can be held for an elongated time and has different attack speeds per character, it also has the same startup speed of 6 frames for all characters (this is slower than GI). It is a vertical swing and most of them can be sidestepped quite easily.
Some moves are what we call RE-safe, which means you can swing them into a player using RE and have it parried, but still have enough time to sidestep the attack and whiff punish accordingly; this changes from character to character. To further make RE interesting, some characters have RE-cancels or variations of their RE attack to really mix up the application of the move.
RE costs 20-22% Guard Gauge to activate, depending on how long you hold the move you can gain huge amounts of meter depending on what you parry.
All that information is just the RE attack itself!
Now to address the action of hitting the Reversal Edge.
The moves within the RE cutscene mini-game also change from character to character and all have different strengths and frame data – K>B>A>K is basically the Scissors>Paper>Rock>Scissors relationship, a similar mini-game as “Rock, Paper, Scissors”, but has movement options to add another layer.
However, don’t misunderstand this information for implying that RE is luck and all random. It is not! I mentioned RE is good for all skill levels for differing reasons because at the more casual level of play, RE is a great defensive tool to introduce yourself to GI, gain tons of meter and get used to doing something other than Blocking.
At the higher levels of play, it is a great tool to prevent some Mixups or to close out a round as if the RE hits without enough life remaining to activate the mini-game it instead defeats the opponent. Another fun fact, did you know that if you hold RE for 10 hits, it automatically parries into the mini-game?
- RE Startup: 6 frames.
- RE Guard Cost: 20-22%.
Text was written by Zedd
follow him on twitter
check his youtube
watch him on twitch


